Creating a Workflow
This guide walks through building a workflow that checks license plate availability on a city's reservation website.
Prerequisites
- A registered account
- Familiarity with CSS selectors (browser DevTools → right-click → "Copy selector")
- A city with an online reservation website, see currently Supported Cities for a list of confirmed working cities
Step 1: Create a New Workflow
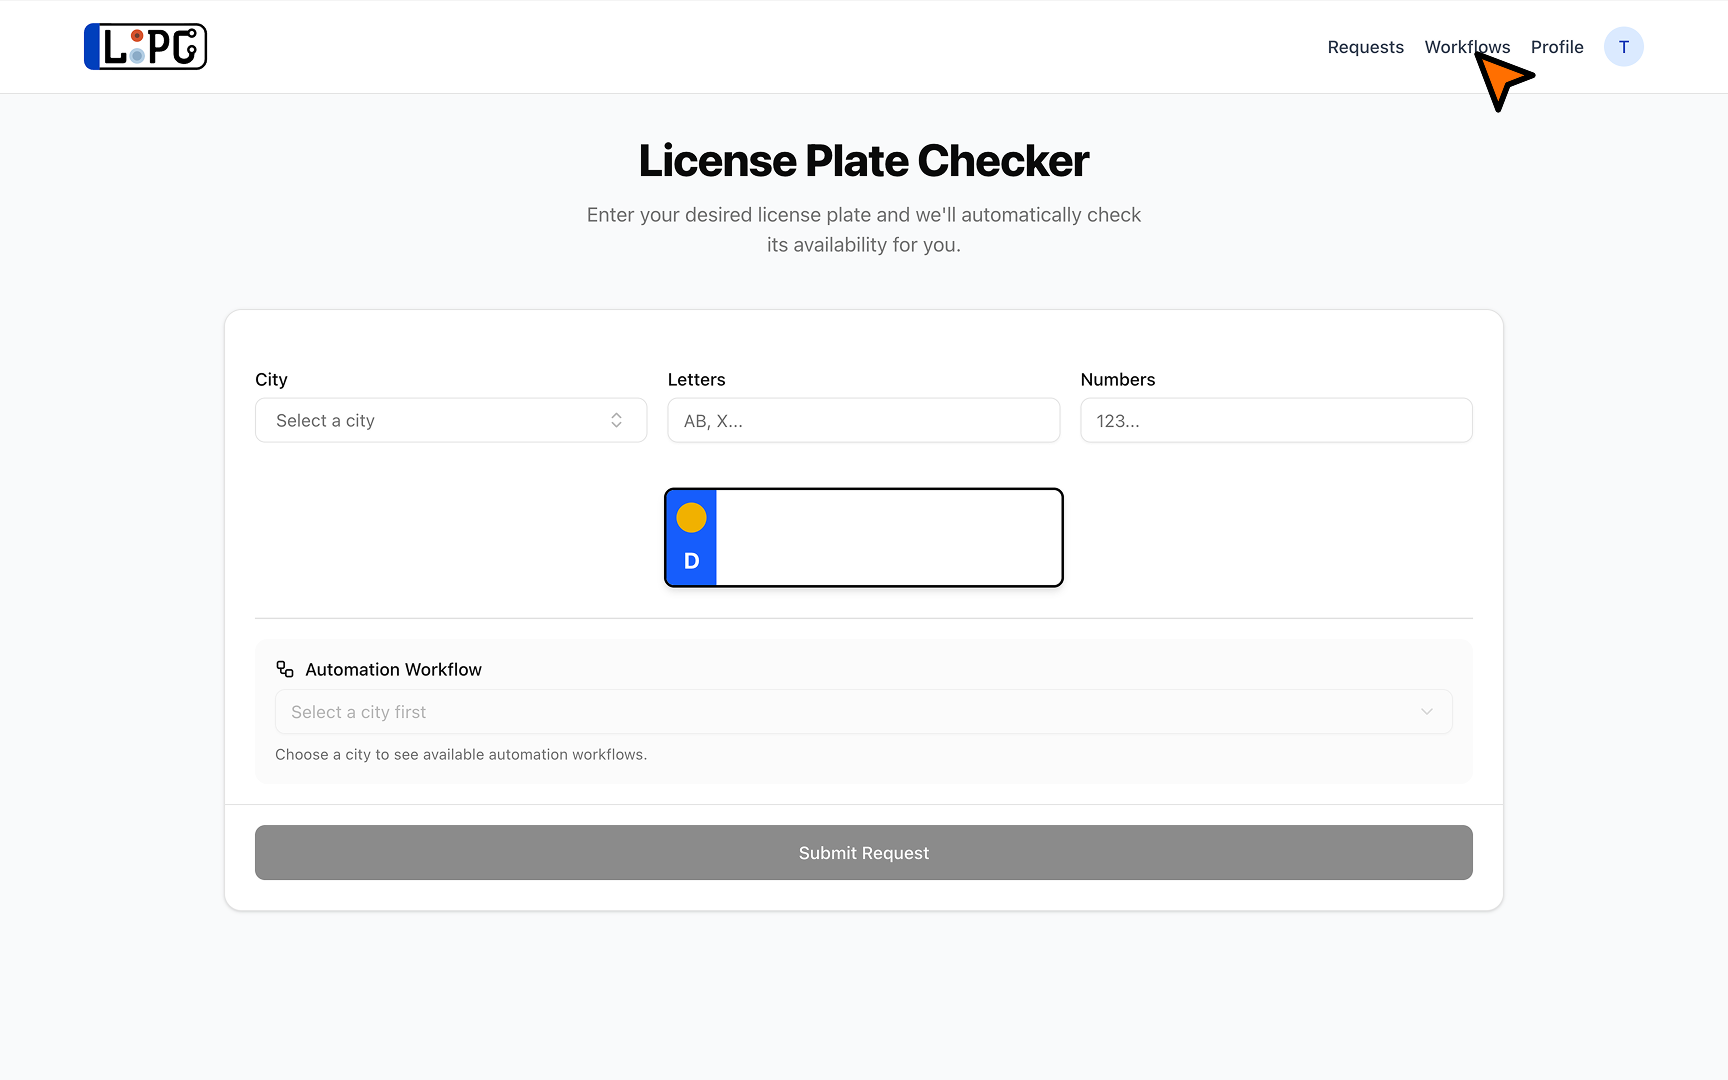
Navigate to Workflows from the navigation bar
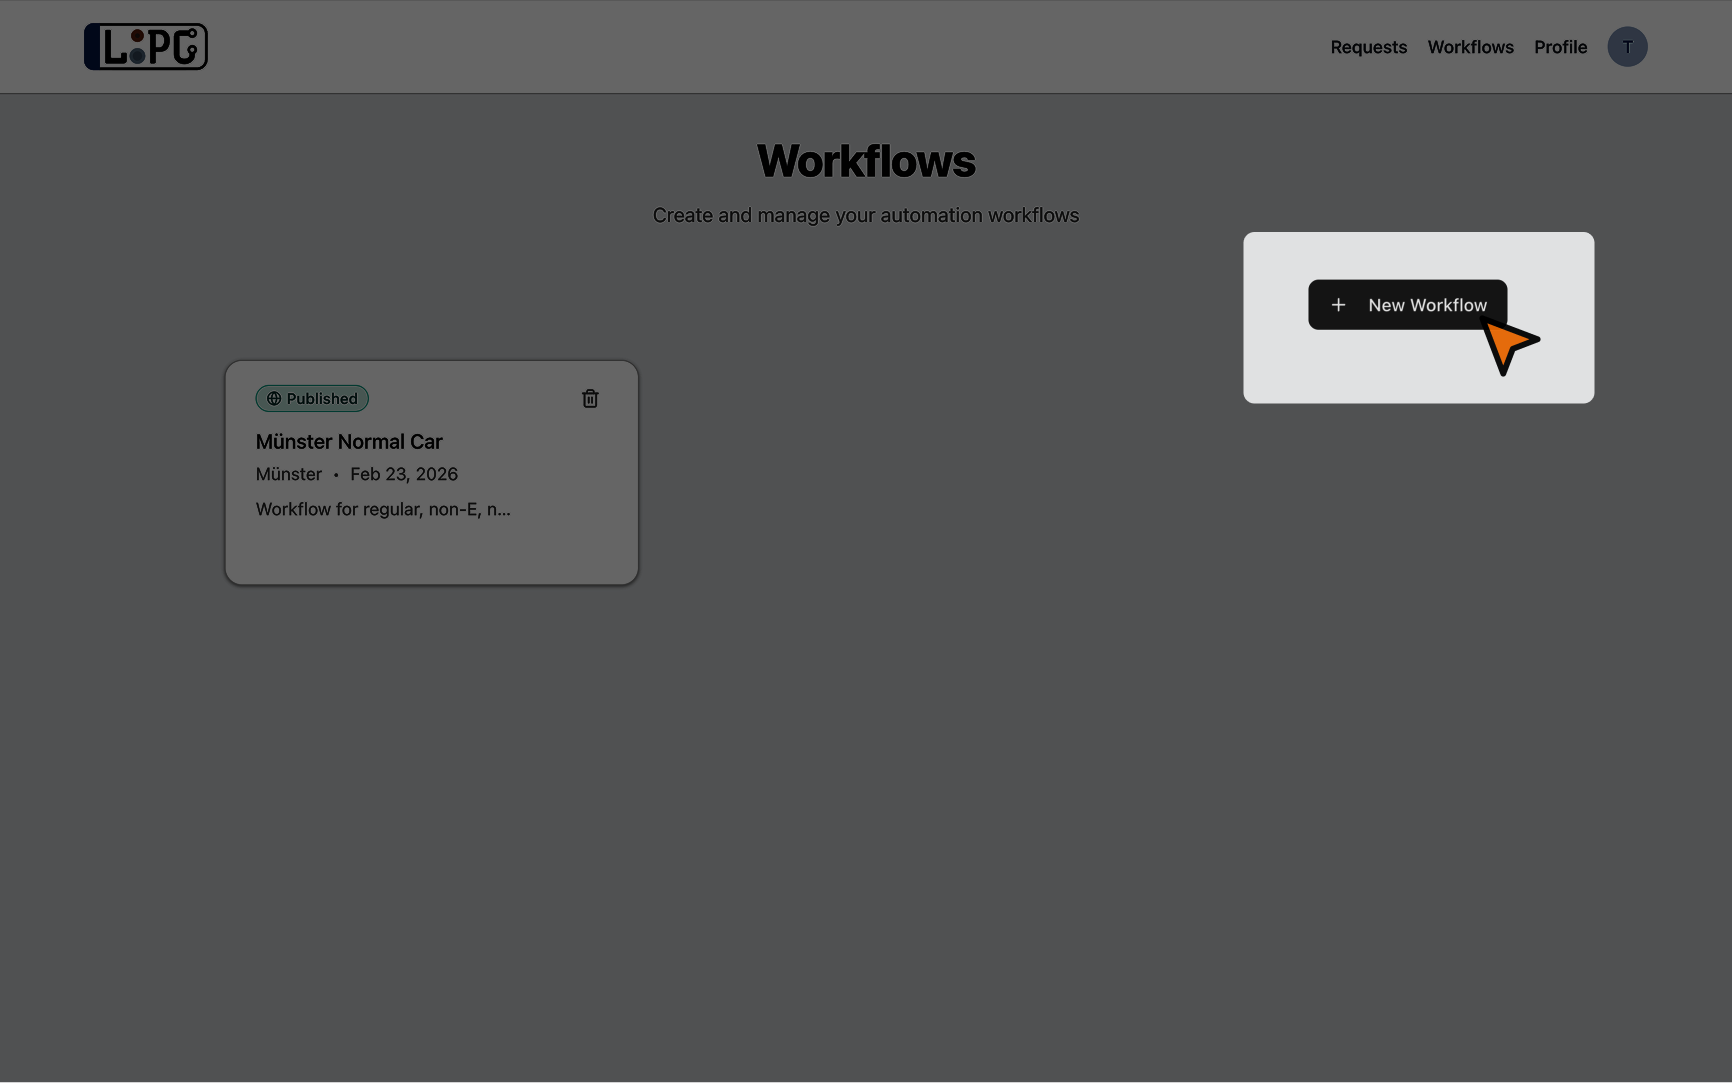
Click New Workflow
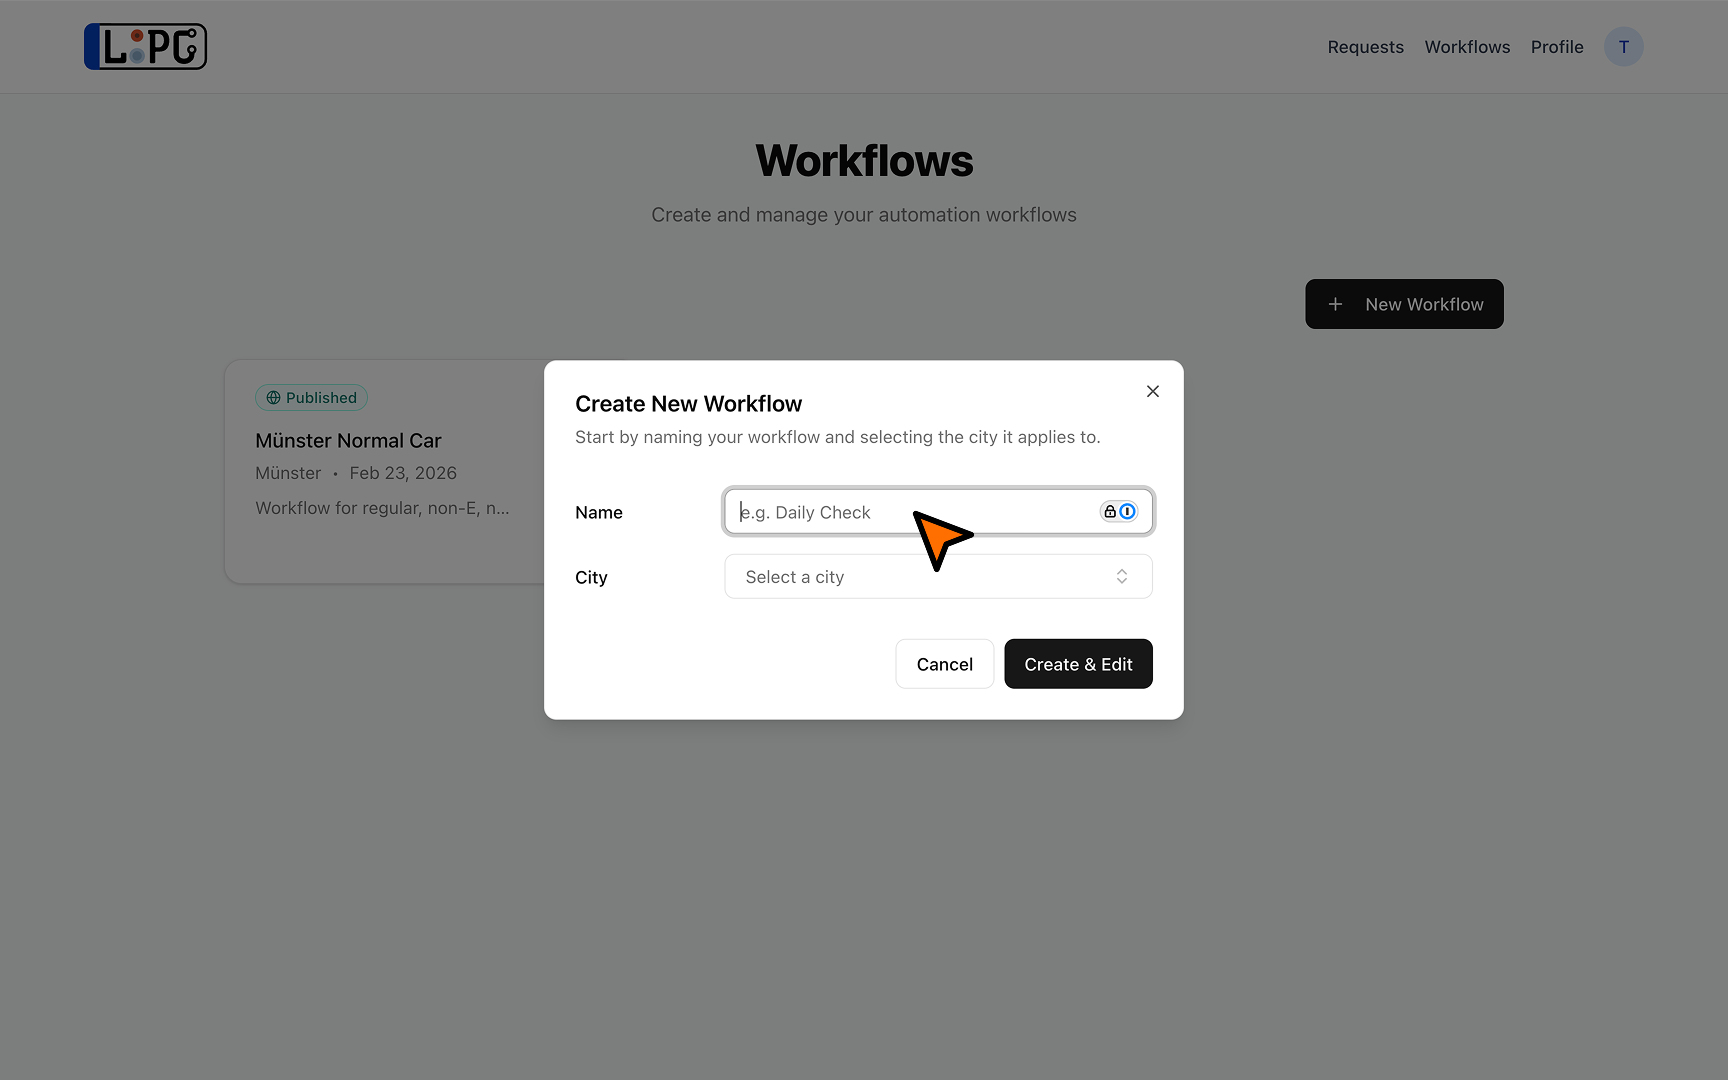
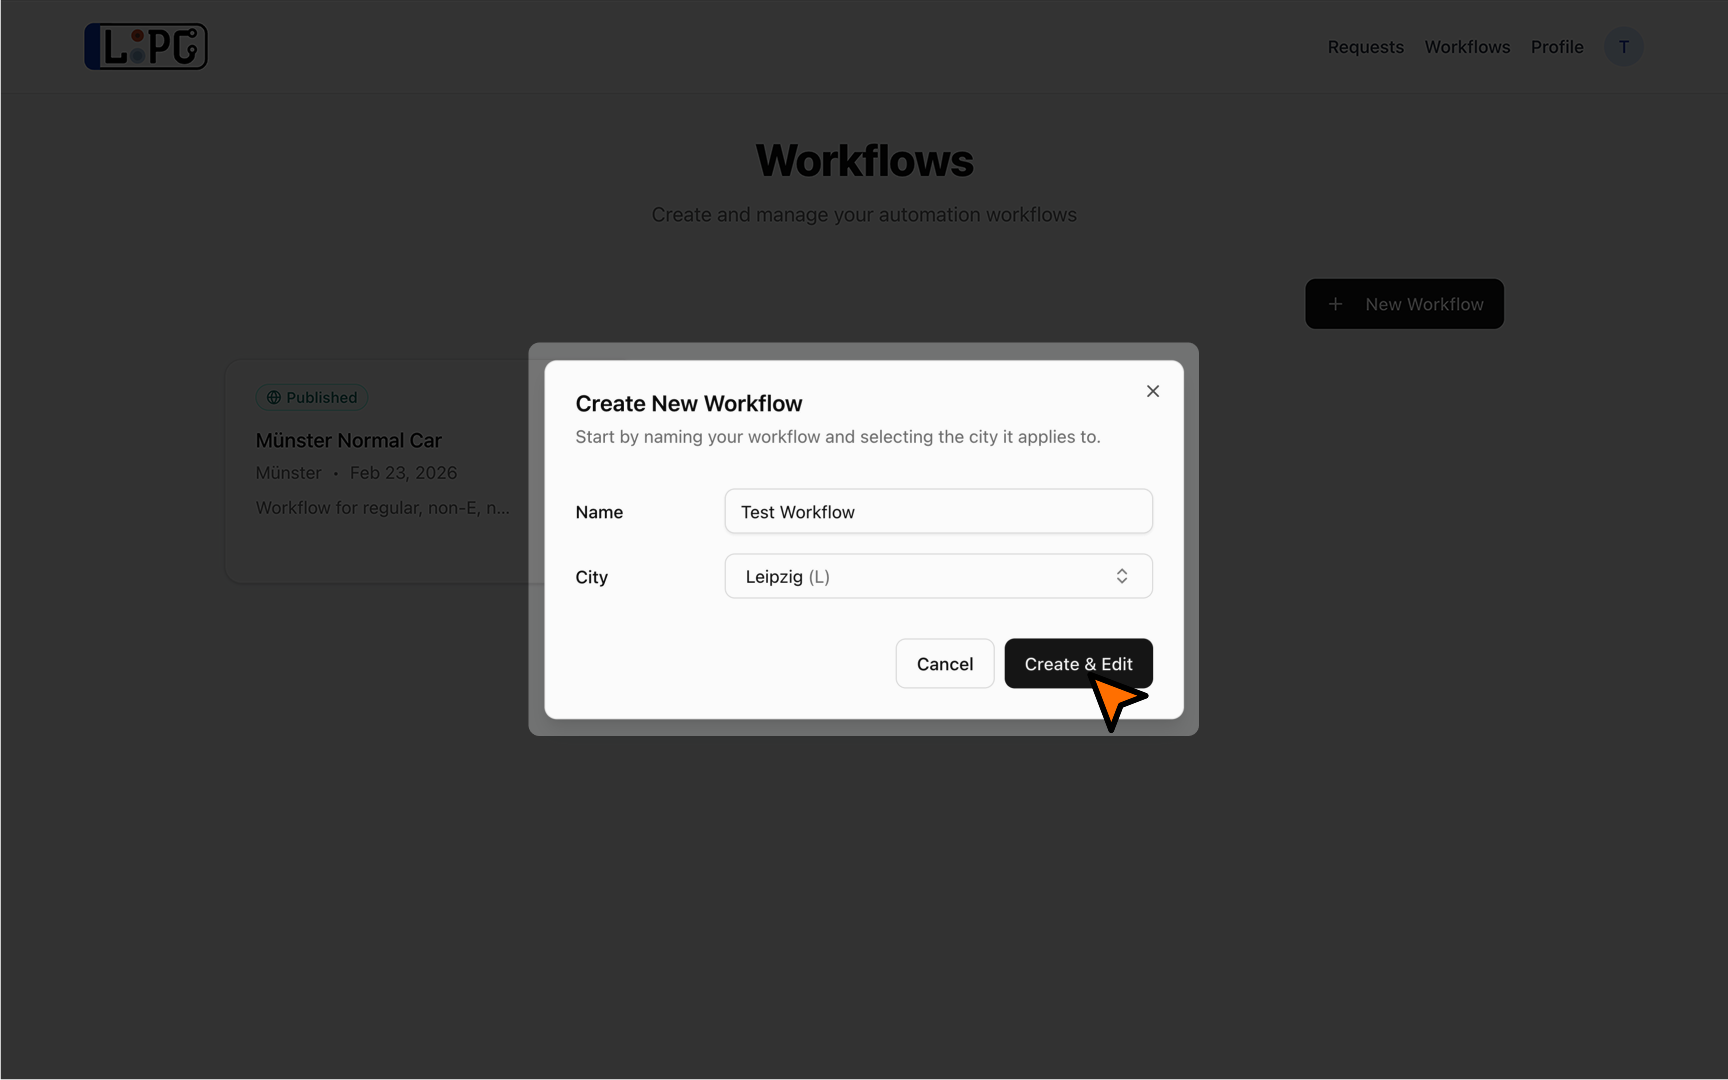
Enter a name and select the target city
Click Create & Edit — the builder canvas opens
The canvas starts with a Start node (showing the city's website URL) and two End nodes, one for each possible outcome.
Step 2: Plan Your Flow
Before adding nodes, open the target city's reservation website in another tab. Identify the steps needed:
- Which fields need to be filled in? (letters, numbers, city, personal details)
- Are there dropdowns to select from?
- Which buttons need to be clicked?
- Are there any pages that load or redirects that happen?
- How do you know the plate is available vs. unavailable?
Step 3: Add Nodes
You can add nodes either by clicking or dragging them from the bottom palette onto the canvas. 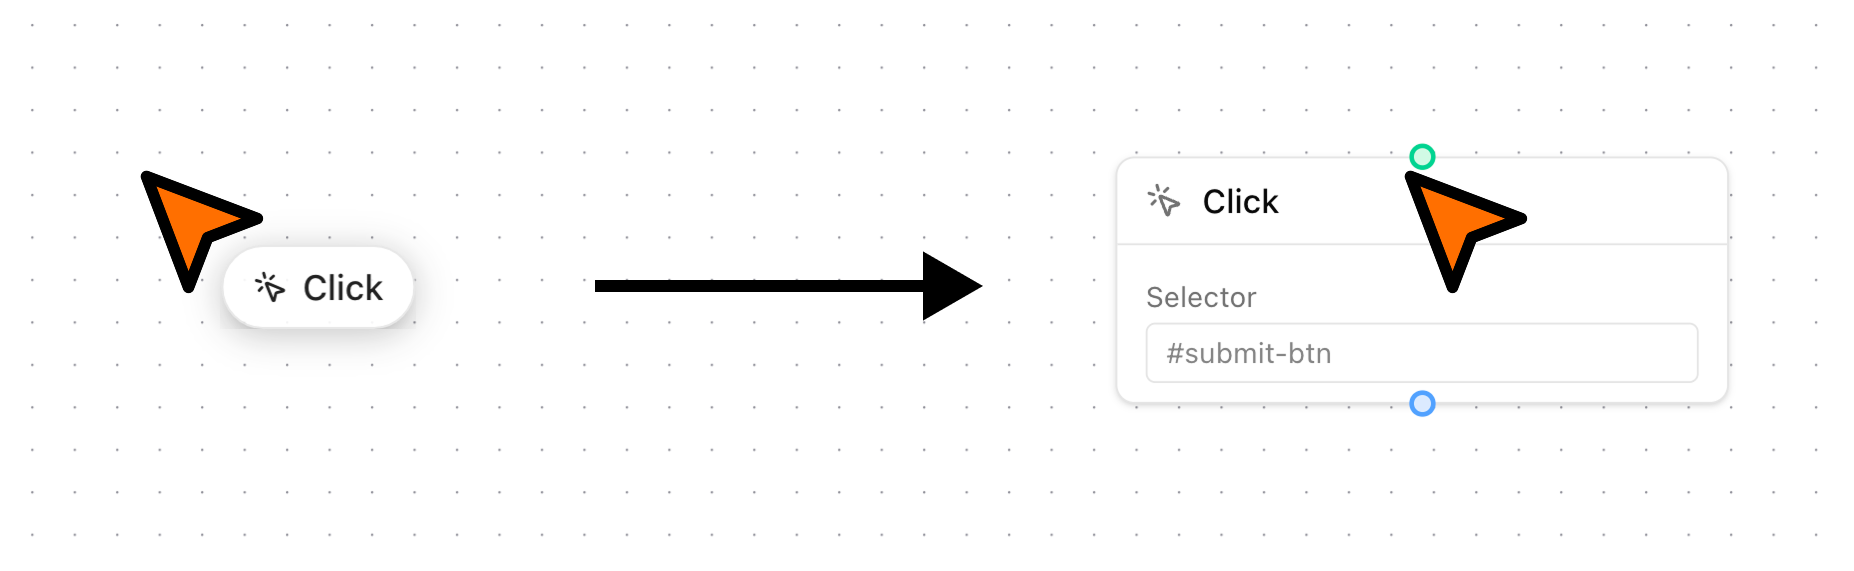
The most commonly used nodes are:
- Type Text — fill in form fields using CSS selectors and template variables like
{{plate.letters}} - Click — click buttons and links
- Select Option — pick an option from a
<select>dropdown (by text, value, or index) - Wait — pause for a duration, wait for an element to appear, or wait for a new tab
- Conditional — branch the flow based on whether an element exists or contains specific text
For a full reference of all node types and their configuration options, see Node Types.
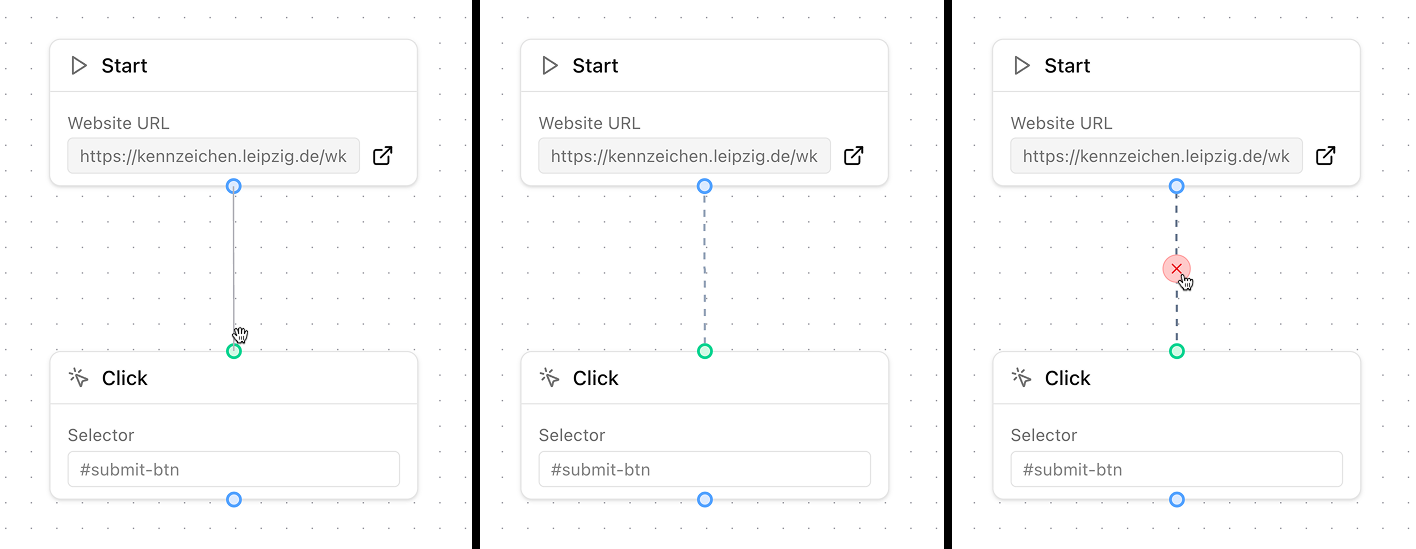
Step 4: Connect Nodes
Drag from an output handle (bottom of a node) to an input handle (top of another node). Each output can only connect to one input.
Step 5: Test the Workflow
- Click the Test button in the bottom palette
- Enter test values for letters and numbers
- Click Run Test
- Watch the nodes light up as they execute
- Review the outcome toast — Confirm if correct, Reject if not
TIP
You have a limited number of test executions per day. Use the city's website manually first to understand the flow before testing.
Step 6: Publish
After a successful test, click Publish in the toolbar. The workflow is now available for use with license plate checks.
Example: Simple Form Fill
A typical workflow for a city that has a simple form:
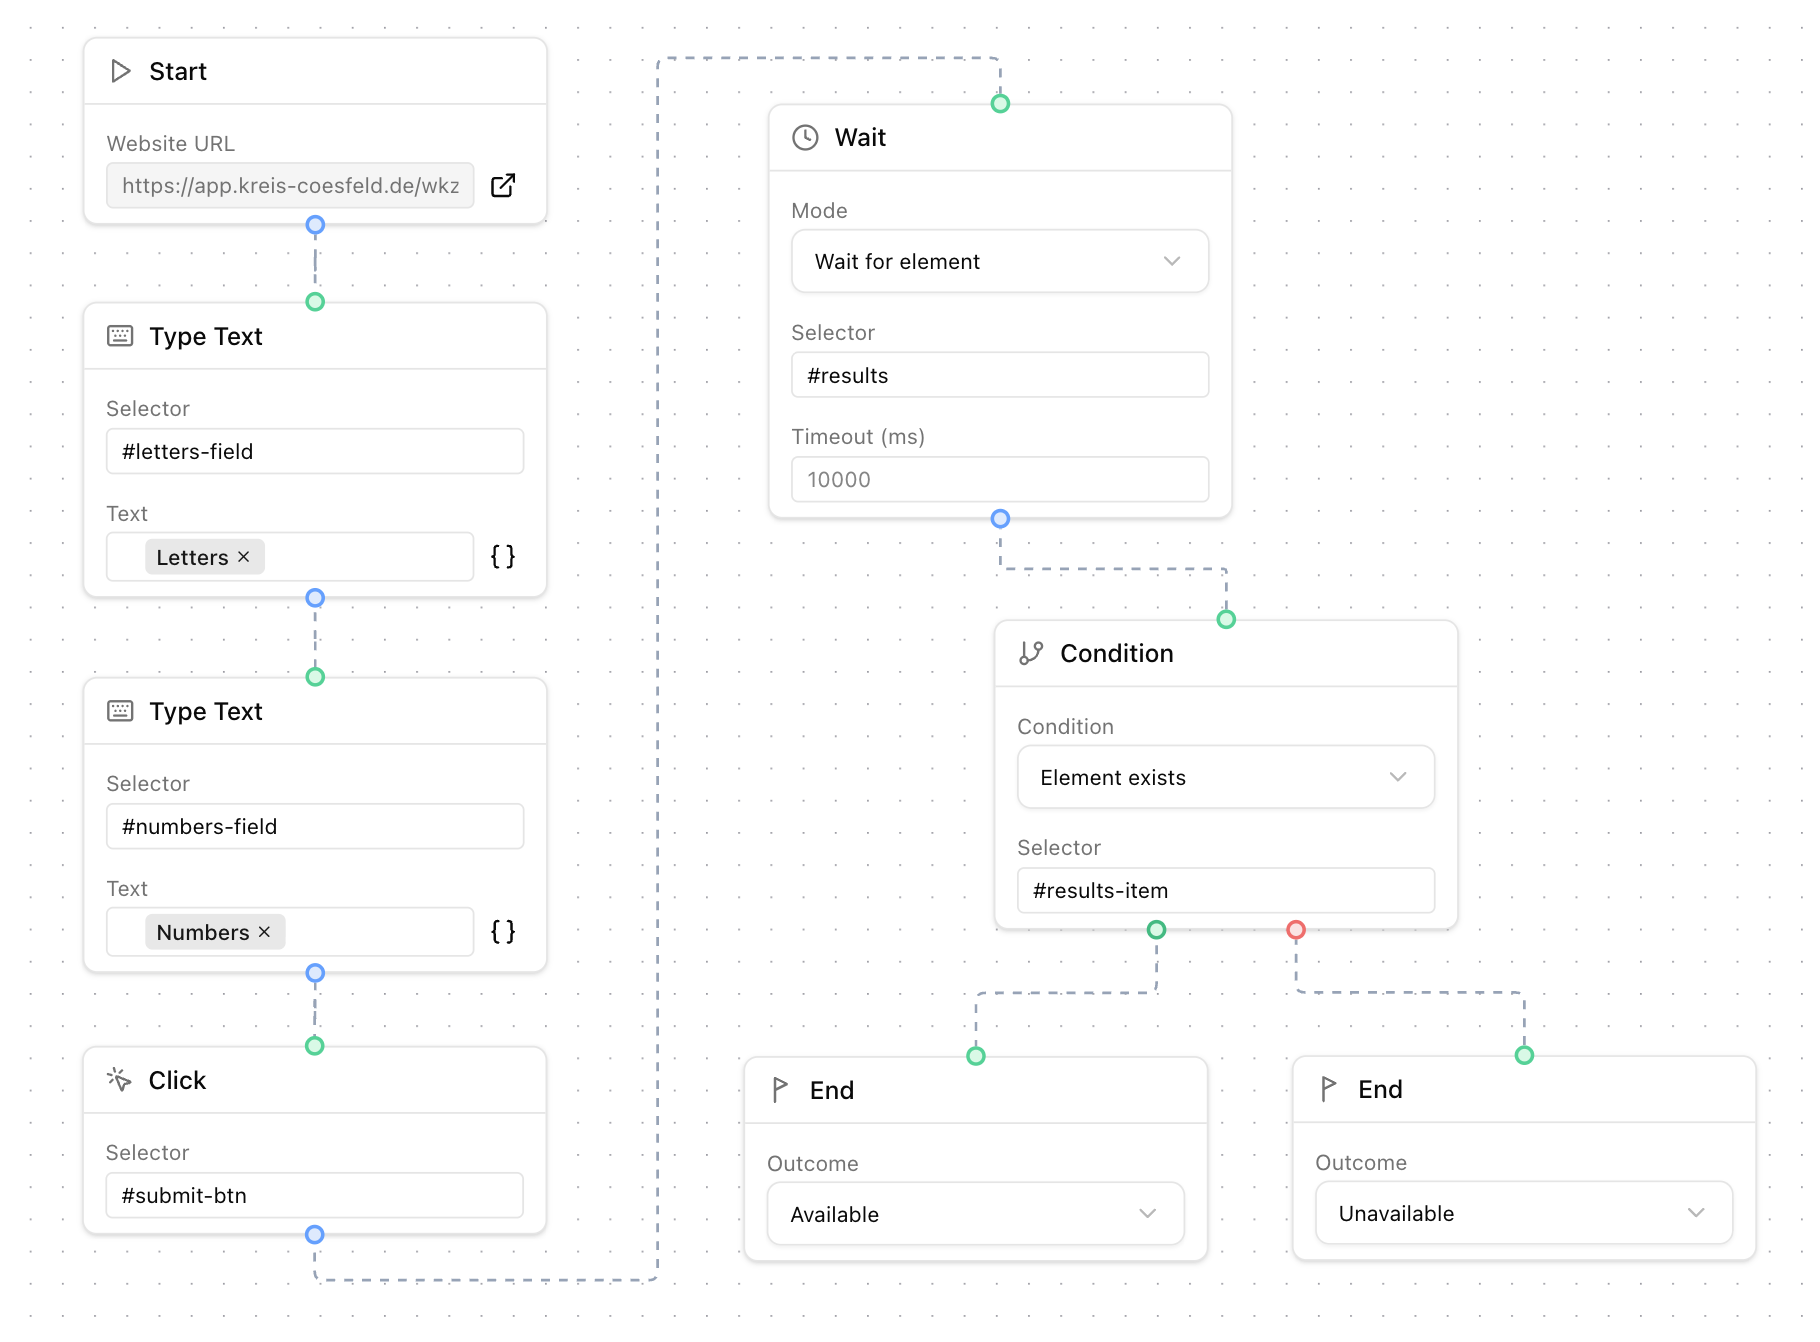
Start
  → Type Text (selector: "#letters", text: "{{plate.letters}}")
  → Type Text (selector: "#numbers", text: "{{plate.numbers}}")
  → Click (selector: "#submit-btn")
  → Wait (mode: For element, selector: "#results")
  → Conditional (operator: exists, selector: "#results-item")
    → true: End (outcome: available)
    → false: End (outcome: unavailable)
Tips
- Use
Wait for elementinstead of fixed duration waits — it's more reliable and faster - Test with real plate numbers to see both the available and unavailable paths
- Check both branches of a Conditional node to make sure both outcomes are handled
- Use browser DevTools to find the right CSS selectors — right-click an element → Inspect → right-click the HTML → Copy → Copy selector. You can also use a browser extensions to help with this.